The Lochness Monster. The Abominable Snowman. UFOs. Personal cutting machines like the Cricut or Silhouette.
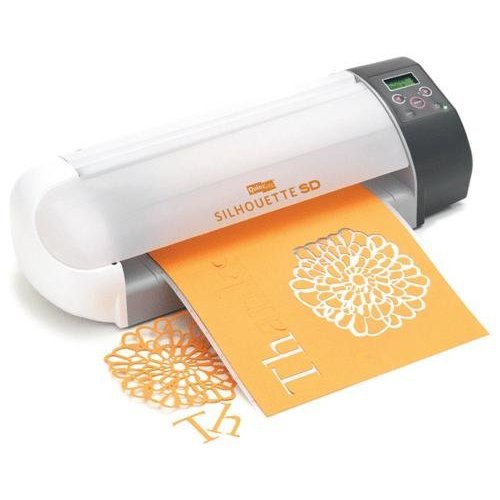
Some people believe those things exist, but I cannot verify. I’ve heard tales of these “personal cutting machines” – space-agey, Jetson’s-era gadgets which actually cut your designs out for you without the use of primitive stone-age tools like scissors, but I can’t be sure if they’re real, because I don’t personally own one.
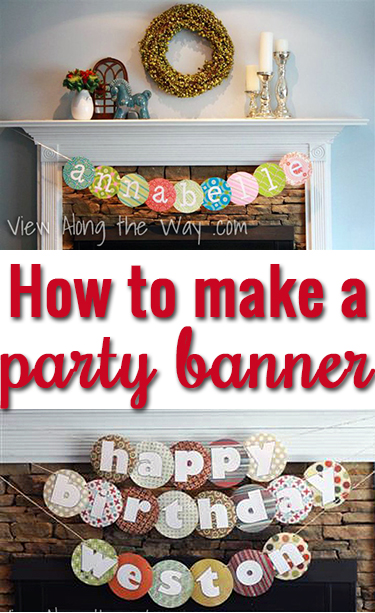
So when I decided to make banners for a baby shower and for Weston’s birthday party, I had to actually construct them the old-fashioned way, and here’s how that went down.


First, find yourself some fancy little scrapbook paper. This is the pack I used for Weston’s banner:
 Choose a piece of paper for each letter you’ll need. Let’s start with this one, because it’s pretty:
 You’ll need circles for this, and since cricuts don’t exist, I recommend the ol’ flip-the-paper-over-and-trace-a-bowl technique. My circles are about 6 1/2 inches wide.
(I’m not actually left-handed. I tried to recruit my toes for this job, but they were busy knitting a sweater.)
Cut out your circle. This very helpful photo demonstrates what it looks like to cut out a circle. You’re welcome.


 Continue cutting out circles until you have one for each letter. Stack up all your circles and, using the first as a template, punch holes in them all.

 Now for the letters. For Annabelle’s banner, I wanted the letters to be all white, so I used Photoshop to print each letter in light gray backwards, then cut it out and flipped it over so there was no visible outline. This font is called minya nouvelle, and each letter is about 4 inches tall.
 For Weston’s banner, all-white letters wouldn’t have stood out enough on some of the lighter-colored circles, so I printed them out with a black outline.

 If you don’t have Photoshop to make your letters, you could just use Microsoft Word for this step. While you’re there, you should consider rocking some pretty radical Word Art, circa 1995.
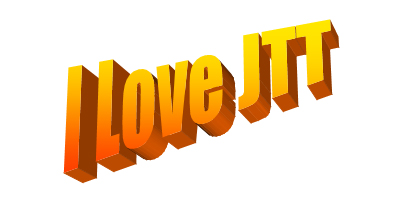
Given the chance to create Word Art in 1995, this is definitely what my 5th-grade self would have created. Did anyone else have a SuperCrush on Jonathan Taylor Thomas? Come on. (No? Me neither.)
(No? Me neither.)


 String ’em all up and hang ’em. I stuck thumbtacks in the underside of my mantel, and tied the twine to those. Step back and admire your handiwork.

Finally, find ways to drop subtle hints to the world that any stray personal cutting machines which needed a good home would be very welcome and could live a happy life here in this house.

Have you ever had to make do without the fanciest of tools?
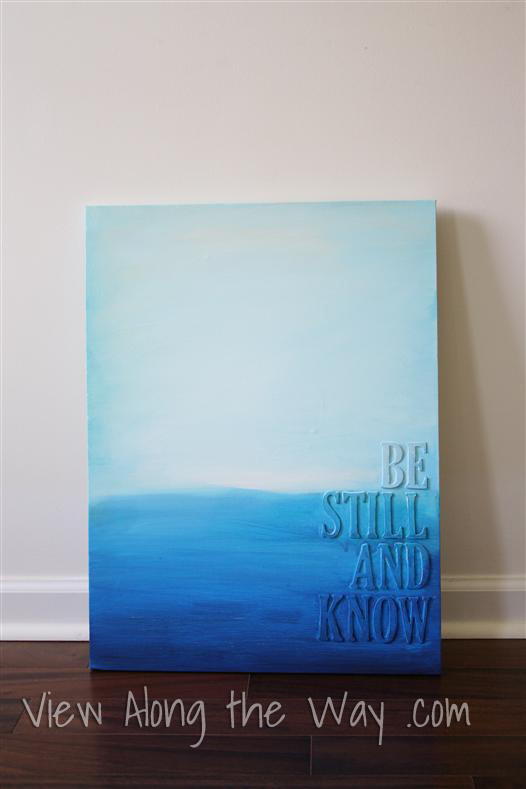
P.S. Make sure you check out my other crafty projects, like this fun, easy art project you can customize with any verse or quote:
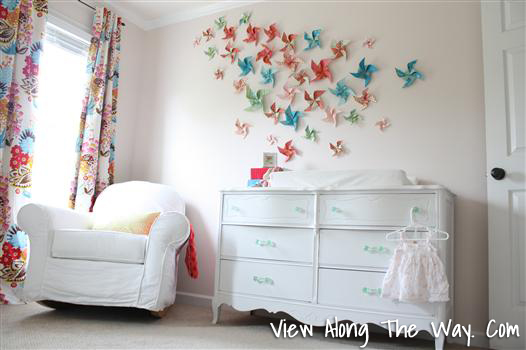
Or this whimsical pinwheel wall:
Or check out the project gallery right here!
 Hi, I'm Kelly. Glad you're here! This little blog is where I chronicle our efforts to fix up our beaten-down home on a tiny budget. We're not there yet, but here's a peek at the view along the way...


)
THANK YOU!!!! I have to admit, I get a little angst-y with all the super fancy tutorials using super fancy (and expensive) tools. A lot of folks just don't have over $200 (on sale!) to drop all at once. So, bravo! Great tutorial!
Love it! I'm over all the tutes on the cutters 🙂 {I'm just jealous of them I know}
Really cute! I give you kudos for finding the time to hand make your own banners. I've looked at those machines and think the price its just crazy!
While I do love your super-craftiness, I feel slightly threatened by your common interest in JTT. So tread lightly 😉
HA! I don't know how I missed this post in the first place. I snickered like 14 times as I read this. I love my Cricut but wouldn't have it if my in-laws hadn't given it to me. I'll ask them if they would like to give one to you, too. 😉
Your banner is adorable!
Hey 🙂 Cute tutorial, I love your banners! I too laughed several times while reading it – love your humor! I am also trying to convince someone (my darling husband) that I am in dire NEED of a cutting device. He agrees, but says that it will be outdated by the time I buy one and have a spare minute to use it (we have a 10 month old little cutie) haha! ….okay he is right and they are super expensive just for the machine, then you need mats….cartridges….paper….tools….ahhhh! Oh well off to grab my handy scissors and glue stick…. 🙂
We’ve had the same block letters on a colored paper (5 1/2 x 8 1/2) for about 10 years. I was just looking at them for the big birthday coming our way Friday and they are just plain worn. So here we go! I LOVE your design and will very happily embrace it. I’m blessed with the 21st century gizmo, the Silhouette so my cutting will be a little quicker, but I’ll be right there, hole punch and string! Fantastic! Beautiful and fun for the 14 year old girlie!
Thank you so much for this post! I get so frustrated when I see all these cricut tutorials and how they proclaim you can’t do any project without that dang thing. I must say that your writing style is refreshing. You’re a funny gal! On another note, I’ve been pinning you like crazy on Pinterest. Love all your ideas and I’m so happy to have found your blog. Keep up the great work!
this is adorable! I have a quick question though….how do you prevent the letters from sliding onto one another??
The texture of the jute (or the ribbon) actually holds them in place pretty well. They stick right where you want and aren’t very slidey. 🙂
Hello! So glad I found this! I’m glad I’m not the only one doing it all old school! I’m so with you on JTT! He was cute! Can’t wait to look through more of your site, keep up the good work x x
OMG! Haha JTT…I haven’t heard that name in years, and no I totally didn’t have a crush on him either 😉
This may be dumb, but my husband and I have been searching Word for 30 minutes for your Weston banner font! What is it?!
I just searched mine too and I can’t figure it out! 🙂 Usually I go download free fonts when I’m doing stuff like this, and I must have deleted it since. Try dafont.com or http://www.1001freefonts.com/. Sorry I can’t help more!
I love how easy this is to make! I am in the midst of planning my baby girl’s 2nd birthday party end of this month and the theme is teddy bear. I’ve cut Styrofoam plates in the shapes of a teddy’s head (also can be used for a mickey mouse theme party). I will be looking for some bright wrapping papers and cut letter on it because the plates are white. It’s like the opposite of your design. 🙂
Thank you so much for the tutorial but most of all the laugh! I loved Word Art and JTT! Where is he now? Maybe Oprah knows.
Quick question do u find the circles slide onto each other at all? Or do they sit on the string ok?
They actually don’t slide much at all – I think it’s the texture of the jute twine or ribbon that keeps them in place
Did you frame out the fire place like that? Cute banner also 🙂
Thanks! The fireplace looked like that when we bought it. 🙂
Love it all! And, you totally made me laugh this fine evening!
Very cute! You have a lot of patience to do it by hand! I hesitated a lot about getting a Silhouette – I really wanted one, but didn’t think I would get enough use out of it to justify the cost. I’m definitely not in the group of people who have money to throw around at things. What I ended up doing – when they came out with the Cameo, a lot of people who did have extra money all had to have the latest and greatest, and were selling their older versions. I ended up getting a Silhouette SD for $100 – came with everything, including a new blade. I know that’s still not super cheap, but a few years later it still works great and I feel like I’ve gotten my money’s worth, even without being super crafty and using it all the time.
Hi! Thank you so much for this tutorial and your photos! I’ve been making similar banners and was wondering if you would know how much you would sell these for? I have no clue on what to price mine for. Mine have squares of burlap behind the letters and I was hanging mine with clothes pins on a line of jute. I like your idea with the hole punching! That’s so cute too! Thank you for your time 🙂
Kristine
Hi, super cute banners! I was wondering if you ever found out the font you used for Weston’s banner? I love it and I’m trying to find it for a project. Let me know, thanks!
Elise
Love this!! What size did you use for your letters?
You are hilarious! I loved this post. I recently received a cricut but have yet to learn how to use it so I will continue to craft old-school style.
Sincerely,
A fellow former JTT fan club member
This is so cute and so simple! I will be using this technique for my daughter’s birthday party next month. Thanks! Found you on Pinterest 🙂
Love the humor! And thank you so much for showing how you made your banner. I too, don’t have a fancy cutting machine. I make things. You have good tips. ????
Hi!
thanks a lot for the helpfull article.
author is a very creative person.
As for me, when my daugther had a birthday, I printed a large posters and banners on my printer. It’s something like a many pices of papers. It’s looked very great.
Besides, I did it thanks to RonyaSoft Poster Printer. Easy to use.
This is just what I was looking for and made me laugh. Definitely going to check out the rest of your tutorials. PS: I really appreciate the picture of cutting out the circle, thought I was lost for a second ☺️