Welcome to a stupidly easy tutorial for how to make a crib skirt. When I’m finished telling you how to make your own inexpensive crib skirt, feel free to slap me in the face for its simplicity, but then kiss me because it actually does kind of solve a global problem with mass-marketed crib skirts.
We’re going to have a complicated relationship, you and I.

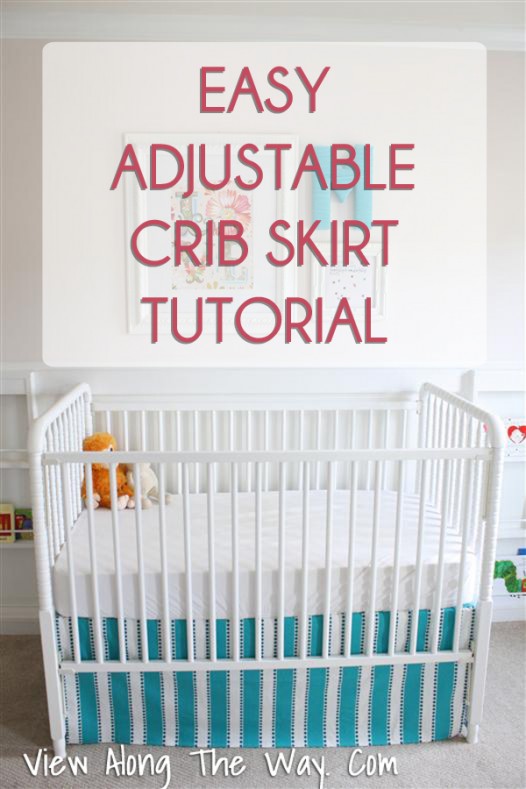
But here’s why this is fantastic: if you’ve bought a crib skirt before, you know they look nice while the crib mattress is at its highest setting, when your tiny spawn is at their smallest. But as they get older and you lower the mattress, the skirt gets too long and bunched up on the floor and messy and embarrassing and you start to hate your life. Exhibit A: Weston’s crib:

That’s the short version. Here’s the longer version.
1. Measure your crib.
You need three measurements. Length of the longest side, lengths of the two shortest sides, and height when the mattress is at its highest setting.

Your measurements will probably be pretty close to mine, but may not be exactly the same:

2. Cut your fabric.
I used a little less than 2 yards of 54″ home decor fabric for this project. If your fabric isn’t wide enough for the longest side, you’ll need to piece it together. (But if you’re smart lazy like me, you’ll just make sure it’s wide enough.)
Add about two inches to the height measurement so you have room for the skirt to wrap up over the top of the mattress support, and add an inch to all the measurements for a seam allowance. Cut three rectangles of fabric:
- One large panel of fabric for the front: length of the long side (plus seam allowance) by height (plus 2 inches, plus seam allowance). For me, this was 52.5 inches by 22 inches.
- Two smaller panels of fabric for the sides: length of the short side (plus seam allowance) by height (plus 2 inches, plus seam allowance). For me, this was 28.5 inches by 22 inches.

Optional Step 3. Realize you need help.
And your major problem with sewing is that you can’t cut fabric into a straight line. (This step may have been particular to ME only. I hope you can skip it.) Recruit husband, who employs a straight-edge used in woodworking and construction to try to cut the fabric straight. Seriously you guys – what is the secret to this?!
4. Hem all four sides of each rectangle.
Turn up 1/2 inch on each side, iron and pin, then sew. I bet I’m supposed to be using more technical terms or using bigger, more specific words here, but I’m embarrassingly bad at this. I beg your forgiveness. This is what each rectangle should look like, but multiplied in awesomeness by your massively better sewing skills than mine:

5. Attach each panel separately to the sides of your crib.
Eyeball the right height – I like the crib skirt to just barely skim the floor – and attach them to your crib. My crib has a flat, fiberboard bottom, so I used flat-topped thumbtacks to pin them in place.

If your crib mattress sits on a spring bottom instead, like this –

– the pins won’t work and you’ll have to attach the panels a different way. One option is to sew on fabric strips which can be tied to the springs. Another option – what I’d probably do in my laziness – is to use a paper clip clamp like this:
No one will see it and I won’t judge you.
6. Adjust height over time.
As your little one gets older, less slobbery and with grosser diapers, you’ll drop the crib mattress height and simply move the panels closer to the center of the crib mattress support. Clip or pin the edge of the panels closer to the center of the crib mattress, and it’ll always sit right where it skims the floor, never getting bunched up and terrible at the bottom. Magic, right?

And that’s the end. If you’ve been reading here for any amount of time, you know that if I can do a sewing project, YOU can handle it with your eyes closed in ten minutes while composing a symphony or something, and probably without the use of a husband or straight-edge.
Don’t forget to pin this so you have the details when you need ’em!
P.S.: Click over here to see the full nursery *reveal!*
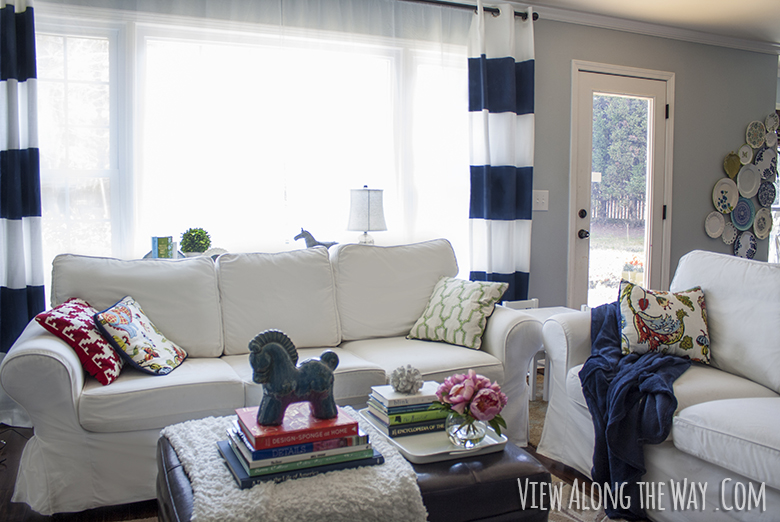
P.P.S.: if you like straightforward, plain-English tutorials, check out my tutorial for how to sew lined back-tab curtains…

And see my tutorial for making DIY striped curtains…
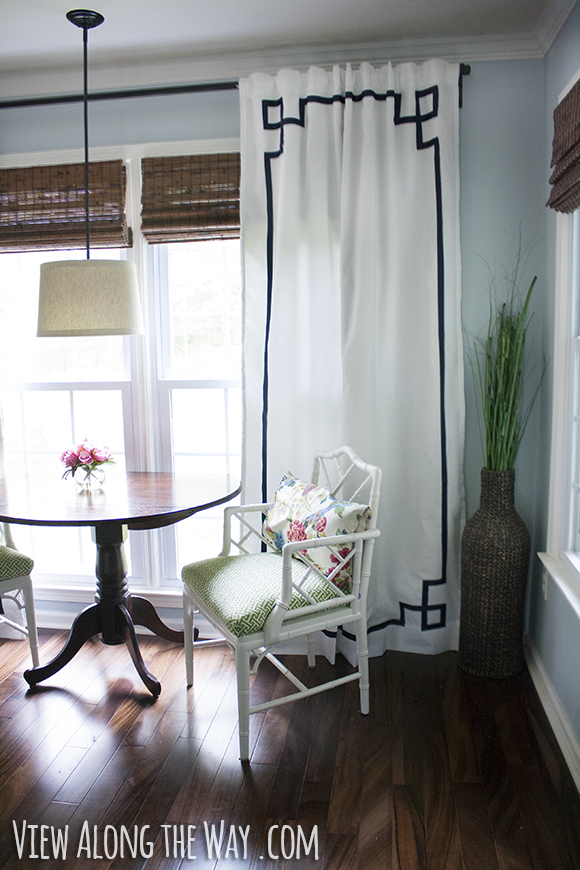
Or learn how to make your own (no-sew!) DIY Greek key curtains.
Plus check out my project gallery for lots of other handy tutorials!
 Hi, I'm Kelly. Glad you're here! This little blog is where I chronicle our efforts to fix up our beaten-down home on a tiny budget. We're not there yet, but here's a peek at the view along the way...


Hey Kelly,
First up, I love your blog. It´s just too funny.
As for the fabric, I think you don´t cut it. In order for it to come out straight you rip it. At least that´s what my mom says and she worked for years at a fabric store.
Anyhow, your nursery and the crib-skirt turned out great.
Here are different options for straight fabric…1) rip as stated above: you find where you want it cut, weasel out a piece of the thread that you can pull. When you pull it, the fabric starts to gather and then you proceed to rip. The fabric will tear right on that gathered line and you just work your way across. That is extremely hard to explain; google it. 2) Lay your fabric on your hard wood floors and use the lines in the floor as a guide. 3) Get a roto-cutter and mat. It comes with lines on it and a straight-edge thing and that cutter just slices right through in a perfectly straight line (method of choice for me). Your nursery is perfection by the way! : )
I can’t cut straight either. I’ve tried all 3 recommendations above and still fail. We should form a support group.
Love the crib skirt! Pinning for future use…for the dog. 😛
I didn’t know this about cribs, but hopefully, this will be good information for the future!
All these sewing projects all over blogland….I might be purchasing a sewing machine soon.
That looks fabulous and actually like something I could do despite my less-than great sewing skills. Thanks for sharing!
We did the same thing. Well we used velcro, but same concept.
I’m terrible at cutting too! I made pillows for our guest room recently and while trimming the edge, I accidentally cut a slit in the pillow. I didn’t let that stop me from using it though! Just flip it over! haha
Love the fabric you chose for the skirt!
Your worst sewing beats my best. So cute. Maybe one day. 🙂
Love it! I did something similar for our crib. No one likes a too-short skirt or one bunching on the floor. Well done! You’ll be a sewing professional before you know it!
Perfect solution! Good thing, because I couldn’t have you hating life. Hope you’re enjoying your time with little Mila. 🙂
this looks amazing and the pattern is awesome! very ingenious on the adjustable part too 🙂
Ah, the mighty paper clip clamp! It holds pretty much everything up in our house! I’ll be bookmarking this for when I have babies!
Pins, paperclips. You and I definitely speak the same language.
so smart- wish i had thought of this when mine were babies!
Kelly my dear you can do no wrong in my book : ) Hope your enjoying that sweet baby girl of yours….xo
genius. that is all.
I should be packing my entire house right now, but no, I’m reading every blog post you ever wrote because you’re so stinking cute! Love your writing and your decorating is gorgeous! This is my newest, favoritest bloggie ever! Thanks for distracting me from what I should be doing & helping me dream up my next home! P.S. If your upholstered bed goes missing, I may or may not have something to do with it 🙂
Folks who sew even only semi-regularly will want to invest in a cutting board. They’re relatively inexpensive and available at every fabric store. It’s a large cardboard flat base that you lay your fabric out on and measure, and you can cut right on it. Indispensable, even if you’re only ever cutting out rectangles.
Girl, I took your word for it when you said if you could sew it, anyone could! You were right! A friend guided me through making curtains for my baby girl’s nursery but I made this crib skirt SOLO! I was so proud of myself and so pleased with the results. Keep the oh-so-simple, possibly-unnecessary sewing tutorials coming–they’re just my speed! Thank you!!
this is just silly smart! I was just staring at our crib trying to figure out how to make a skirt and this is certainly easier than other ideas! thanks!
Thanks for the info! I can’t wait to measure up our crib and make one =)
I saw another tutorial on these, and they just attached a ribbon and tied the panels to the metal spring thingee that is under the mattress.
Brillant! Thank-you for saving me from spending copious amounts at Pottery Barn and an equal amount of ire from my husband.
Brilliant! Made this last weekend (with the binder clip), for our twin’s nursery. Between sales and a gift card, I paid $6 for 5 yards of fabric- more than enough to get 2 cribs done and have extra for crafty stuff!
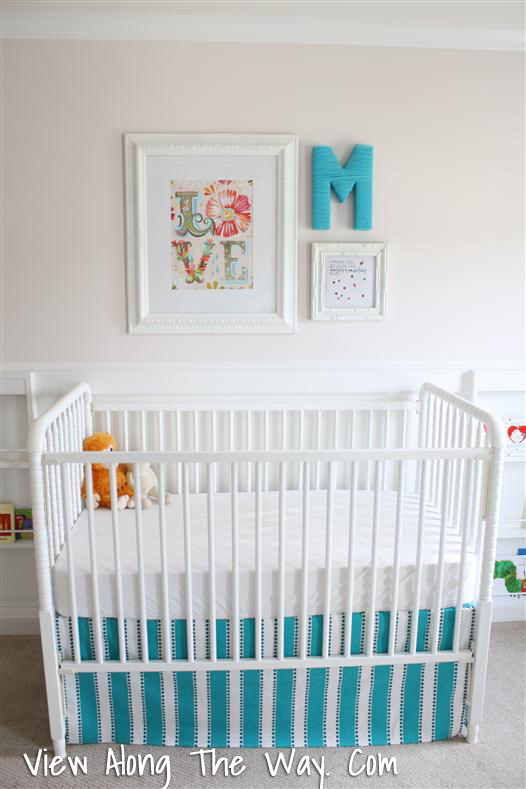
I also love your wall art above the cribs! Where did you find the “love” print?
Awesome!! I’d love to see pics of your crib skirts all finished if you have them! 🙂 The “love” print is from the Katie Daisy etsy shop. She has the most amazing art: http://www.etsy.com/shop/thewheatfield?ref=seller_info
Congrats on the twins – wow!!
OMGosh you are hilarious!!!! =)
I just found you while searching for an easy crib skirt tutorial… it’s not exactly what I was looking for but it. is. brilliant.
Also I love your writing, you just gained a new reader just by being awesome 🙂 Thanks!!
Holy crap. You just rocked my world. I can’t believe how much I was just about spend on one of these things because I was sure it was too hard for me to do. My sanity and wallet thank you.
Thank you so much for this super easy tutorial! I never would have considered doing this before and I am super happy that I didn’t waste my money on an expensive dust ruffle only to take it down when we lower the crib mattress. Again, thank you thank you thank you!
Hem Tape can make this a no-sew option! 🙂 Thank you for the awesome tutorial.
Awesome tutorial. I couldn’t find a reasonably priced dust ruffle to go with a toddler bed set I ordered. The crib set dust ruffle looks much like the one in the picture above, way too long for the lowest mattress settting. I’m so delighted to find a simple and cheap alternative
Such a cute crib skirt and the tutorial is SO easy to follow!! I seriously feel confident in making the crib skirt without even looking back at the tutorial like I normally would…. not sure if I will feel the same when I get started though! lol I’m so excited to make baby J.J.’s crib skirt now!
Ripping the fabric to make a straight edge works UNLESS the fabric’s pattern is printed onto the fabric instead of woven into the fabric. When the manufacturers print on patterns, they don’t always get them straight.
I just got done making this for my baby’s room! It was really easy, even for me who hates sewing 🙂 Thanks so much!
I see that many people have commented about cutting a straight line, and many have suggested ripping or tearing your fabric. This is absolutely true. My mom used to do crafts for a living so I learned it from her. Just snip a little cut in the fabric at exactly where you want the straight line cut and then rip it! It will follow the line of the woven threads in the fabric and make a straight line. I have been doing it for years as well.
Cool idea! I don’t have a baby, but when I do I will also have a neat trick for a crib skirt!
I love using a straight edge, in fact I went to Lowes and bought a large metal square just for cutting fabric. And then my husband found it and promptly used it while laying tile … it’s no longer suitable for use with fabric, ha!
Hey Kelly! I wanted you to see our blog post about your great idea! http://fiveeighth.blogspot.com/2013/02/quick-and-easy-adjustable-pleated-crib.html#
I remember this one – oldie but goodie, for sure!!! 🙂
Consider me slapped! Such an awesome and easy idea, I cant believe that I never thought of it with all of my laziness lol.
I LOVE this nursery! Where did you find the fabric for your crib skirt? Very CUTE and thanks for the help!
Thanks! It’s this fabric: http://warehousefabricsinc.com/LUUTUE.html. Good luck!
Just wanted to say thanks for posting this–genius! I just made mine and love it. I even took the especially lazy no-sew route. Makes me feel like I am ready for baby girl now–even though I’m still exhausted by my 19-month old boy!
Thanks for posting this! We have the babyletto crib with a drawer underneath, so everything in the drawer is in view without the skirt and a regular crib skirt would not have worked as we lower the mattress down. This took me about an hour to do, and I haven’t touched the sewing machine in a couple years! Also, we have the metal frame but have a piece of cardboard between the frame and the mattress. (The crib manufacturer recommended this to prevent any snags and dents to the mattress.) The fabric was pinned to the cardboard. Very easy and fun project.
Hi, I need help with the brackets that extend from the crib rails to the mattress. I cannot figure out how to get around them, because the crib skirt cannot hang down. Do you have a solution for my problem? Thanks so much. Wicky
Thank you for this idea! I’ve been searching for the perfect crib skirt for my baby’s nursery and couldn’t find anything quite right w/out spending a fortune on a custom skirt from Etsy. Problem solved!
What kind of crib is shown in your baby’s room for this crib skirt – is it the Jenny Lind crib? I haven’t ordered the crib yet and figured I should wait to have it before I make the crib skirt, but if yours in the Jenny Lind crib I can just use your measurements and go ahead and start sewing 🙂
Thank you thank you thank you for the crib skirt instructions!!! I love the way mine turned out and I actually sewed ribbon to the top of mine to hook to the springs and it worked perfect!
If you do cloth crafting/sewing you gotta invest in a wheel cutter and cutting mat. I find folding the fabric into manageable sizes and then cutting makes a nice straight edge. I own the $9.99 cutter by fiskars and the $24.99 mat from Joann Fabrics but Walmart has both these item at similar prices. I have used my cutter so much in the past year that I have already replaced (@$3.95) the blade! My favorite craft tool, right above my paper cutter!
This. is. genius. And YOU are genius! Thank you so much for this tutorial! I’m expecting baby #10 any day now, and I wish I had known about this 9 babies ago. 😉
Hi I just made a crib skirt using your tutorial! Sooo easy and super cute! Thanks for posting it. Is there somewhere I can share a picture?
I didn’t make a crib skirt for our nursery (drawer under bed), but I’m sewing a nursery ensemble for a friend and stumbled on this. And then I fell over ’cause it’s just so simple. Total win.
LOVE THIS! I am definitely making one today! so easy, and WAY less expensive and cuter than buying one!
When you measured, did you measure the entire length of each side, meaning to the outside of each end? Or did you just measure the inside length from leg to leg? I hope that question makes sense…..
Just leg to leg, because that’s how far the skirt goes.
Once again, thank you for such a fantastic and simple tutorial! After looking at a number of different directions for making a crib skirt yours was exactly what I wanted. I altered the way it attaches to the slats and posted about it on my blog here: http://thegeekyloft.blogspot.com/2014/04/diy-crib-skirt.html
First of all this is pure brilliance! And binder clips might be my most favorite part! 🙂 Second I clicked on your nursery on pinterest and loved it, then swooned when I saw your baby’s name as Mila is our front runner girl name! As I read the “M” lists in the nursery posts I feel in love with your blog too! Fabulous!!!
Thanks so much for this great tutorial! I was driving myself crazy trying to find the right sized crib skirt to buy and then I came across this! So exciting! I used a flat twin sized sheet, which yielded lots of fabric. And as a bonus, it had eyelet lace along the top edge, so now the front of my crib skirt has lace which I DIDNT EVEN HAVE TO ADD SEPARATELY! Awesome. Thanks again! 🙂
GREAT tutorial. I slightly changed the concept and made a two piece skirt. One piece lays on top of the other. To shorten the length, make a fold in the middle. Stright pin or safety pin in place. And, yes, more material. Our crib has a spring frame. Would have needed the “paper clip clamp” installation. Found this more user friendly. Your great idea got me thinking!!
This is a great idea! With my first I bought a skirt. I used it 6 months and when I adjusted my 3 in 1 crib, the skirt no longer showed anyway.
Then when I had my second I made 2 fake panels (the crib was in the corner) and used Velcro to attach them to the 2 sides that showed. Inexpensive and the panels become a pillow cover, a valance, plus some scrap fabric at the end of the 6 months. Less waste, more reuse.
Great blog!
To cut straight lines, I make a small snip in the fabric at the required measurement and then pull a thread from that snip the length of the fabric. Then cut along the line that the pulled thread created. Works every time. More time consuming than ripping but well worth it in the long run as ripping can create ugliness along the ripped edge.
I love the way you write; you’re hilarious! I’ll be making a crib skirt for a crib with a spring bottom so I’ll have to try your idea about sewing on strips to tie it.
Superb,!!It’s not stupid at all 🙂 It’s an easy process but we don’t know.Really it’s fantastic to know.. !!
I didn’t read through all the comments, so this may have already been mentioned. I was taught to cut a straight line using a tile floor, if you have one. Line the fabric up where you want to cut it with a solid line of grout in the tile (I tape it on the edge to keep it from sliding), then keep the fabric tight and cut right along the grout line with fabric scissors. This also works great for wrapping paper.
It’s really a helpful post,Just awesome to know.Wish you all the best.Thanks for sharing such an effective post.
OMG! This is Really Easy Adjustable Crib Skirt Tutorial on the Web. I like it . keep it up
i have a very old mattress and new skirt doesn’t look good on that, so i decided to make one. I am really glad to land on your tutorial, its easy and very detailed.